4 Easy Ways To Get the Smoothest Drywall Finish
Getting that drywall to absolute perfection can seem tricky. Over time, laying it down and smoothing it out gets easier. But nothing is ever perfect. There could be some bumps and bruises along the way. However, we have some tips for all drywallers and contractors to follow. Here are four easy ways to get the smoothest drywall finish.
Mix the Mud to Perfection
It’s all about mud preparation. If the mud is inconsistent, too thick, or too lumpy, its application won’t be smooth. Some people may think using pre-mixed compounds makes things easier and is the most obvious option.
However, although this mud comes pre-mixed, it’s not good for storing because it starts to develop mold if left out too long. Go for the dry mud because you can mix the compound to your liking and stow it away for another time. Use a bucket, water, and a drywall mixing paddle. Add water in increments to get the right texture. Then, scoop some mud into the drywall pan for better mobility.
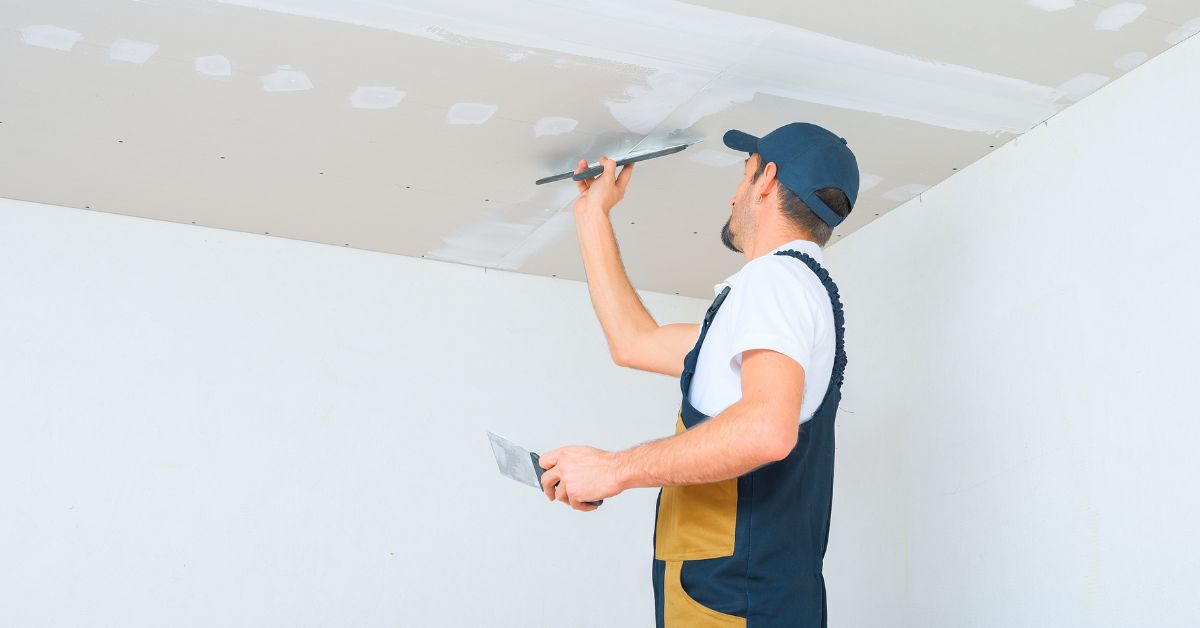
Start With a Light Coat
Lay the tape across the seams and smooth it out. After that, take the pan and trowel and apply a light coat of mud over the top of the tape. The first layer will hold the tape and bed it into the drywall. Place that first slab in the middle of the tape.
Then work from right to left to smooth the mud across the tape. Make sure everything is even. Have an equal amount of mud on both sides of the tape. A good two inches of mud should be above the tape line. Following the first layer, add another, but thicker this time. Repeat the technique. The thicker mud will cover all the tape.
Check for Bubbles
The bubbles are the tricky part. They don’t always pop up in the very beginning. You may spot a few wrinkles from the tape, but that’s relatively normal. After a couple of layers of drywall, you’ll start to see the bubbles form if the installment is loose.
Get rid of the drywall tape bubbles by cutting them out with the utility knife. Start at the end of the bubble formation. Drag the knife underneath the bubble from one end to the other. From there, you need to apply more layers of mud to the cut-out area. Float it across the entire seam.
Sand To Finish
After making sure there are no more surprises, grab your sander and smooth out all those layers of drywall. Be sure to let the mud dry for a little bit before sanding it down. It shouldn’t take too long. You can get started on another area while waiting for the coat to dry.
As you’re sanding, be sure not to go too deep. You don’t want to sand away every layer of mud. Be firm but loose with the amount of pressure. Come back the next day and run a hand over the drywall, then sand more if needed.
The smoothest drywall finish is just four easy steps away. With this information, you can get started today!


