4 Professional Tips and Tricks for Sanding Drywall

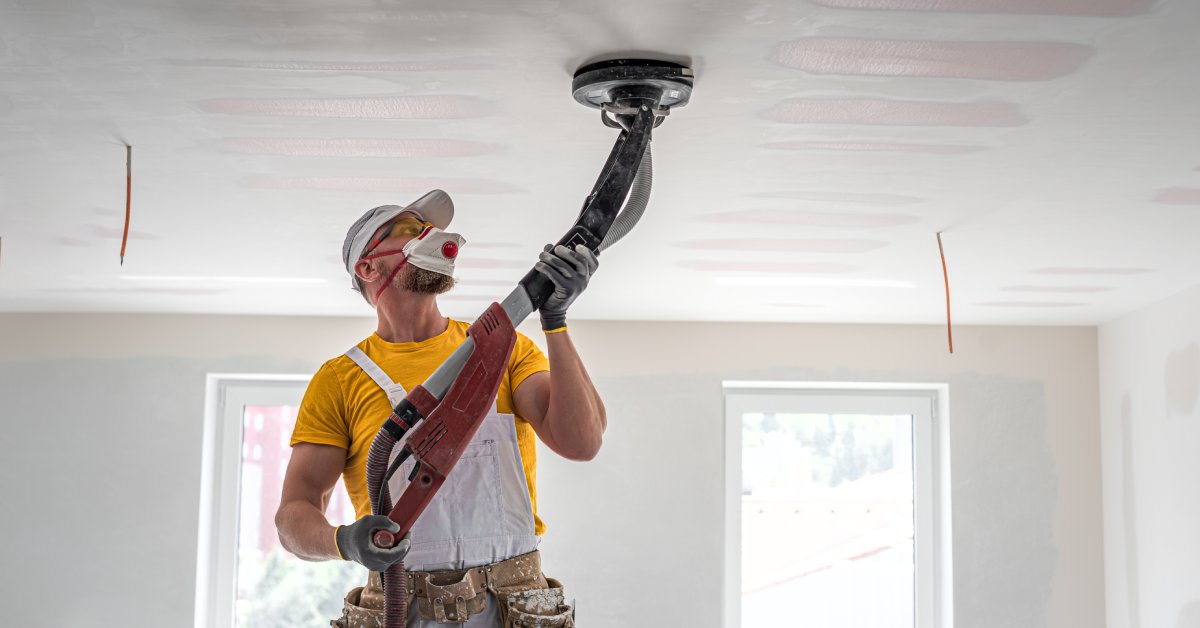
Sanding drywall is a crucial step in achieving smooth and professional-looking walls, whether for a renovation project or new construction. While it may seem like a straightforward task, sanding requires the right tools, techniques, and a bit of expertise to avoid common pitfalls like uneven surfaces or excessive dust. If you’re looking to refine your skills, this guide will equip you with practical tips and tricks for sanding drywall so your project is efficient, effective, and flawless.
Sand in Stages
One of the most important strategies for sanding drywall is to work in deliberate stages, ensuring each step prepares the surface for the next. Start with a coarse-grit sandpaper, such as 80- or 100-grit, to knock down high spots and remove excess joint compound using light and even pressure.
Once you’ve smoothed out the rough patches, move to a medium grit, like 120- or 150-grit, to refine the surface further and eliminate remaining imperfections. Finally, finish with a fine-grit sandpaper, such as 220-grit, to create a polished, seamless appearance ready for priming and painting.
Use Circular Motions
Moving the sandpaper or sanding sponge in small, overlapping circles distributes the pressure evenly, reducing scratches or uneven spots. This method is particularly useful for blending edges where joint compound meets the drywall, ensuring seamless transitions that won’t show through paint later.
Circular motions also maintain control over the sanding process, preventing over-sanding or missed spots. For best results, combine this technique with consistent checks by running your hand over the surface to feel for roughness or irregularities.
Minimize Dust With Wet Sanding
Wet sanding is an excellent technique for minimizing dust during drywall preparation, making it a favored method among professionals. Dampen a sanding sponge, and work over the surface gently to smooth out imperfections and cut down on airborne dust particles.
While it’s still important to wear the right safety gear, this method keeps your workspace cleaner and reduces the risk of inhalable dust. Bonus tip: wring out the sponge thoroughly to avoid excess water dripping onto the drywall, as excessive moisture can damage the surface.
Practice Feathering Edges
Feathering edges is an essential technique for achieving a seamless and professional finish when sanding drywall. Use a sanding sponge or fine-grit sandpaper to focus on smoothing the outer edges of the drywall mud, and apply even, gentle pressure.
A common mistake is concentrating too heavily on the center of the patch or seam, but the key is to ensure a smooth transition at the edges. Make sure to inspect the surface from multiple angles under good lighting to identify uneven spots or ridges.
Mastering the art of sanding drywall is a crucial skill for achieving smooth, professional-quality finishes in any construction or renovation project. By following these tips and tricks for sanding drywall, you can significantly enhance the results and ensure a polished surface ready for painting or decorating. With patience and practice, this seemingly tedious task can become an opportunity to perfect your craftsmanship and elevate the overall quality of your work.


